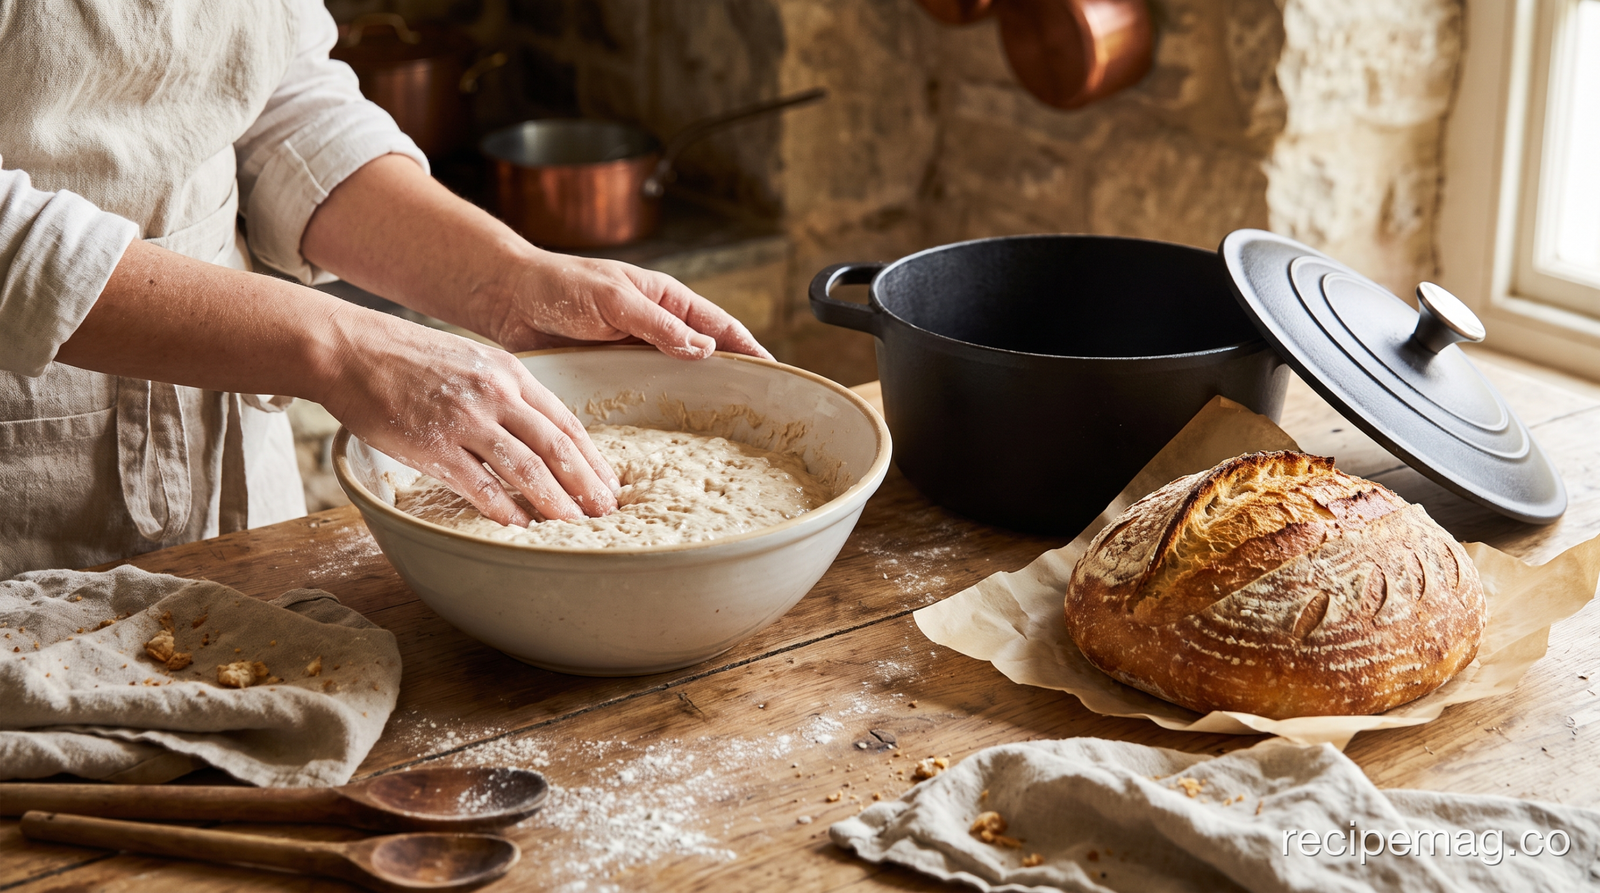
No-knead bread works because gluten forms on its own given enough time and water. Kneading is simply a way of accelerating a process that will happen regardless: in a wet dough left for twelve to eighteen hours, the protein strands align themselves through the natural movement of fermentation. The method was popularised by baker Jim Lahey and published by Mark Bittman in The New York Times in 2006, and it remains the single most reliable route to a bakery-quality loaf in a home oven.
Key Takeaways
- Time replaces kneading; gluten develops on its own in a wet dough over 12 to 18 hours.
- High hydration, around 75 percent, is what makes the open crumb possible.
- A preheated covered Dutch oven traps steam, which is what produces the crackling crust.
- Only a quarter teaspoon of yeast is needed, because the long ferment does the work.
- Weighing flour rather than measuring by cup is the biggest accuracy upgrade available.
How Gluten Forms Without Kneading
Two proteins in wheat flour, glutenin and gliadin, form gluten when they hydrate. Glutenin provides elasticity, gliadin provides extensibility, and together they build the network that traps gas and gives bread its structure.
Kneading aligns those strands mechanically. But in a dough wet enough for the proteins to move freely, the same alignment happens passively as the dough sits, helped along by the gentle churning of fermentation. Twelve to eighteen hours at room temperature is enough. The dough that looked like shaggy porridge at midnight will be smooth, bubbled, and stretchy by morning.
Hydration is the enabling variable. A typical kneaded loaf sits around 65 percent hydration, meaning 65g of water per 100g of flour. No-knead doughs run nearer 75 percent, which is too slack to knead comfortably by hand but precisely what allows passive gluten development. It is also what produces the open, irregular crumb.
Why the Dutch Oven Matters
Professional bakeries inject steam into their ovens for the first minutes of the bake. Steam keeps the loaf’s surface flexible so it can expand fully before the crust sets, and it also gelatinises surface starches, which is what gives a finished crust its glossy, blistered crackle.
A home oven cannot hold steam; the moisture vents away in seconds. A preheated cast-iron Dutch oven solves this by making a small sealed chamber. The dough releases its own moisture, the lid traps it, and for the first half of the bake the loaf sits in its own steam. Remove the lid for the second half and the crust dries, browns, and crisps.
The pot must be preheated, ideally 45 minutes at 450°F. Dough dropped into a cold pot spreads sideways before it can rise, and you get a flat loaf. Any heavy lidded pot works: enamelled cast iron, bare cast iron, or a heavy stainless casserole.
The Four Ingredients, and What Each Does
Flour. Plain all-purpose flour makes a perfectly good loaf. Bread flour, with more protein, gives a chewier crumb and better rise. Weigh it: a cup of flour can vary by 20 percent depending on how it was scooped, which is enough to change the hydration entirely.
Water. Room temperature, not warm. Warm water speeds fermentation, and speed is the opposite of what this method wants. If your kitchen is hot, use cool water and shorten the rest.
Yeast. A quarter teaspoon for a whole loaf looks like a mistake, and it is not. A small population of yeast fermenting slowly over many hours produces far more flavour than a large population working fast, because the long ferment develops organic acids and aromatic compounds that a two-hour rise never reaches.
Salt. Two teaspoons, and it is not optional. Beyond flavour, salt tightens the gluten network and slows fermentation, keeping the long rest under control. A saltless loaf tastes hollow and rises unevenly.
Reading the Dough
Recipes give times; dough gives signals. Learn the signals and the times stop mattering.
After the long rest, the surface should be dotted with bubbles, the mass should have more than doubled, and it should be visibly slack and stretchy when the bowl is tilted. If it looks barely changed, your kitchen is cold and it needs more time.
After shaping and the second rise, press a floured finger about half an inch into the dough. If the dent springs back immediately, it needs longer. If it fills in slowly and only partway, it is ready. If it does not spring back at all, it has over-proofed and will spread; bake it anyway, and it will still taste good.
During the bake, the loaf is done when it is deeply browned, not merely golden. Underbaked bread is the most common home-baking fault. If you want certainty, the interior should read around 205°F.
After the bake, wait. Cutting a hot loaf releases steam that would otherwise redistribute into the crumb, and the texture turns gummy. An hour on a rack is the minimum.
Where to Go Next
Once the basic loaf is reliable, the same dough carries a lot of variation. Fold in olives and rosemary before shaping. Replace a quarter of the flour with whole wheat or rye for a darker, tangier loaf. Add a tablespoon of honey for a softer crust.
The method also scales sideways. The same hydration and long ferment logic underpins focaccia, which is easier still because there is no shaping involved; see our tomato and herb focaccia. And it is the same principle behind the yeasted overnight waffle variation in our buttermilk waffles.
For the loaf itself, our no-knead Dutch oven bread gives the full recipe and timings. Bread is also the single most useful thing to have made when the week’s cooking turns to soups and braises, which our late-August kitchen reset covers.
Troubleshooting a Loaf That Went Wrong
Bread failures are diagnostic. Each one points at a specific cause, and once you can read them the method becomes reliable rather than lucky.
Flat and spread wide. Over-proofed on the second rise, or the pot was not hot enough to set the crust before the dough relaxed. Shorten the second rise and give the Dutch oven the full preheat.
Dense, tight crumb. Too little water, which almost always means flour measured by volume. A cup scooped straight from the bag can weigh 20 percent more than one spooned in.
Pale, soft crust. Underbaked, or the lid stayed on too long. The uncovered stage is what dries and colours the crust; give it the full fifteen to twenty minutes and take it further than feels comfortable.
Gummy interior. Cut too early. The crumb continues setting as it cools, and slicing hot releases the steam that should be redistributing through it.
Huge cavern under the top crust. Shaping was too loose, so gas collected in one pocket. Build more surface tension when you form the ball.
No rise at all. Dead yeast, or a kitchen too cold. Check the date on the yeast and find a warmer spot.
Frequently Asked Questions
Do I really not need to knead it at all?
Correct. In a dough at around 75 percent hydration resting 12 to 18 hours, gluten develops on its own. A few gentle folds during the rest improve structure but are optional.
Can I use instant yeast instead of active dry?
Yes, in the same quantity. Instant yeast can be mixed straight into the flour; active dry benefits from being stirred into the water first, though at this long a ferment it makes little practical difference.
What if I do not have a Dutch oven?
Any heavy lidded pot works. Failing that, bake on a preheated tray with a metal pan of boiling water on the shelf below, though the crust will be noticeably less dramatic.
How long can the first rest go?
Twelve to eighteen hours at typical room temperature. Up to 24 hours works in a cool kitchen. Much beyond that and the gluten begins to break down and the loaf will spread rather than rise.
Why is my crumb dense instead of open?
Most often the dough was too dry, which usually means flour measured by volume rather than weight. Under-fermentation and rough handling during shaping, which knocks out the gas, are the other two causes.
Can I refrigerate the dough?
Yes. A cold rest of up to three days develops more flavour and makes the dough easier to handle. Let it come back to room temperature for about two hours before shaping.
