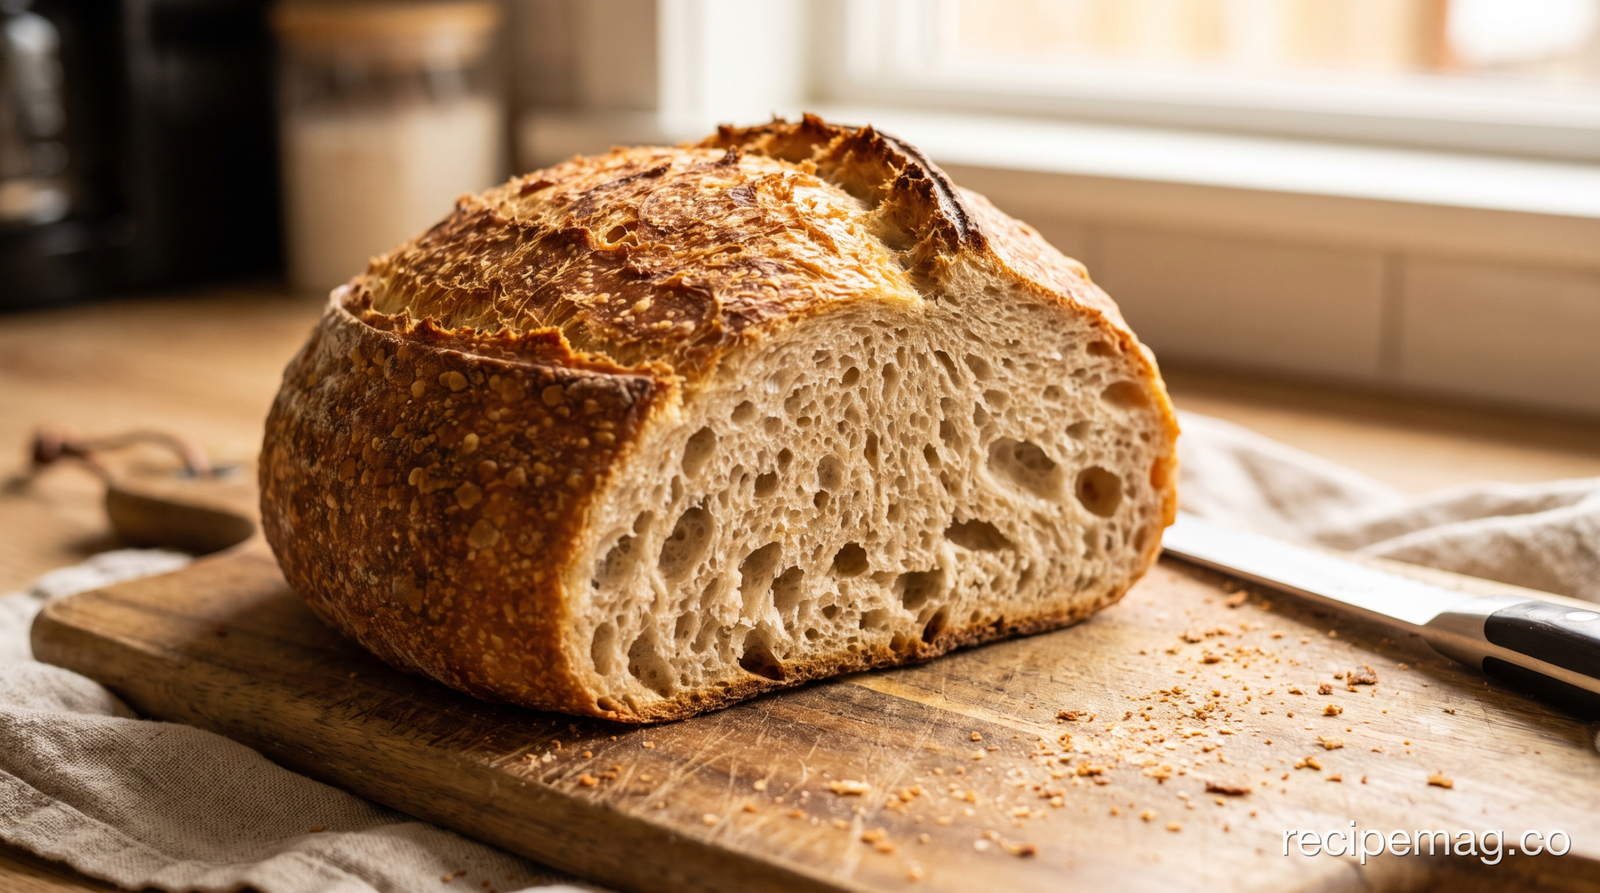
This is four ingredients and about fifteen minutes of actual work spread across a day. Everything that makes it good happens while you are asleep. The only two things you have to get right are weighing the flour and preheating the pot properly, and both are easier than kneading.
Key Takeaways
- 15 minutes of hands-on work; the overnight rest does the rest.
- Weigh the flour. Volume measuring is the main cause of dense loaves.
- Preheat the Dutch oven 45 minutes at 450°F before the dough goes in.
- Bake covered for 30 minutes, uncovered for 15 to 20 more.
- Cool at least an hour before slicing or the crumb goes gummy.
Ingredients
Makes 1 large loaf. Active time 15 minutes. Total time 14 to 20 hours.
- 400g (about 3 1/4 cups) bread flour or all-purpose flour
- 300g (about 1 1/4 cups) room-temperature water
- 1/4 tsp instant yeast
- 2 tsp fine sea salt
- Extra flour, semolina, or cornmeal for dusting
That is 75 percent hydration, which is the number doing the heavy lifting. A kitchen scale costs less than a bag of good flour and eliminates the single largest source of failure in this recipe.
How to Make It
1. Mix (5 minutes, evening). Whisk the flour, yeast, and salt in a large bowl. Add the water and stir with a wooden spoon or your hand until no dry flour remains. It will be a shaggy, sticky, unpromising mass. That is correct. Do not knead it, do not add flour.
2. Rest (12 to 18 hours). Cover the bowl with a plate or plastic wrap and leave it at cool room temperature. It is ready when the surface is dotted with bubbles and the dough has more than doubled and looks slack and stretchy.
3. Shape (5 minutes). Scrape the dough onto a well-floured surface. With floured hands, fold it over on itself four times, rotating a quarter turn between folds, then flip it seam side down and drag it toward you a few times to build surface tension into a rough ball. Do not overwork it; you are shaping, not kneading.
4. Second rise (1 to 2 hours). Place the ball seam side down on a square of parchment dusted with semolina or flour. Cover with a tea towel. It is ready when a floured finger pressed half an inch in leaves a dent that fills back only slowly and partway.
5. Preheat (45 minutes). Put the covered Dutch oven in the oven and heat to 450°F. Give it the full 45 minutes after the oven reaches temperature. This step is not negotiable.
6. Bake. Score the top with a sharp blade about half an inch deep. Lift the dough by the parchment and lower it, paper and all, into the screaming-hot pot. Cover, bake 30 minutes. Remove the lid and bake another 15 to 20 minutes until deeply browned, not merely golden.
7. Cool. Turn the loaf onto a wire rack and leave it at least an hour. It will crackle audibly as it cools, which is the crust contracting. Cutting early releases steam that should be settling into the crumb.
Timing It Around Your Day
The recipe is flexible if you understand which parts are elastic. The 12-to-18-hour window is generous. The second rise can stretch to three hours in a cool room. Only the preheat is fixed.
Two workable schedules. Evening mix: mix at 9pm, shape at 10am, bake at noon. Morning mix: mix at 8am, shape at 9pm, bake at 10.30pm and cool overnight; the loaf is perfect at breakfast.
You can also stall it in the fridge. After the first rest, refrigerate the dough for up to three days. It develops more flavour, becomes far easier to handle cold, and lets you bake on your own schedule. Bring it back to room temperature for about two hours before shaping.
Temperature is the variable nobody accounts for. A 78°F kitchen in late August ferments considerably faster than a 65°F one in November. Check the dough at 12 hours in summer rather than assuming 18.
Variations
Whole wheat. Replace 100g of the flour with whole wheat and add 20g more water; whole grain absorbs more. Expect a denser crumb and a nuttier flavour.
Olive and rosemary. Add 3/4 cup chopped olives and 2 tablespoons rosemary during the shaping folds, not during the initial mix, so they do not interfere with gluten development.
Seeded. Roll the shaped ball in a damp towel and then in sesame, poppy, or mixed seeds before the second rise.
Cheese and pepper. Fold in a cup of grated sharp cheese and a teaspoon of cracked black pepper at the shaping stage.
For why any of this works, our beginner’s guide to no-knead bread covers the underlying method. The same dough logic in a flatter, faster form gives you our tomato and herb focaccia.
Storing It
Bread with no preservatives goes stale fast, and how you store it decides whether that takes two days or one. Keep it cut side down on a board at room temperature for the first day. After that, a paper bag preserves the crust and a plastic bag preserves the crumb; you cannot have both.
Never refrigerate bread. Staling through starch retrogradation happens fastest at refrigerator temperatures, so a loaf in the fridge goes stale several times faster than one on the counter.
Freeze instead. Slice the cooled loaf, freeze flat in a bag, and toast slices straight from frozen. Day-three bread becomes croutons, breadcrumbs, or the base of a panzanella, and it is exactly what our end-of-summer minestrone wants alongside it.
Equipment That Actually Matters
This recipe needs very little, but two things genuinely change the outcome.
A kitchen scale. The single highest-value purchase for anyone baking bread. Volume measurement of flour is wildly inconsistent, and hydration is the variable this entire method depends on. A scale removes the largest source of failure for the price of a few loaves.
A heavy lidded pot. Enamelled cast iron is ideal because it holds heat well and releases the loaf cleanly. Bare cast iron works. So does a heavy stainless casserole or a clay cloche. What matters is mass and a tight lid, not the brand.
Useful but optional: a bench scraper, which handles wet dough far better than hands; a lame or a very sharp knife for scoring; and a banneton, which supports the dough during the second rise and leaves the spiral markings people associate with bakery loaves. A colander lined with a floured tea towel does the same job for nothing.
What you do not need: a stand mixer, a bread machine, a proofing box, or a pizza stone. The method exists precisely because it requires none of them.
Frequently Asked Questions
Why is my loaf flat and wide instead of tall?
Usually over-proofing on the second rise, or a pot that was not hot enough. Both let the dough spread before it sets. Check the finger dent and give the pot the full 45-minute preheat.
Can I use all-purpose instead of bread flour?
Yes. All-purpose gives a slightly softer crumb and a little less rise. Bread flour’s higher protein produces more chew and better structure, but the loaf works with either.
The dough is extremely sticky. Did I do something wrong?
No, that is the recipe. At 75 percent hydration it should be sticky. Use floured hands and a bench scraper rather than adding flour, which is the fastest way to a dense loaf.
How do I know when the bread is baked through?
It should be deeply browned and sound hollow when tapped underneath. For certainty, the internal temperature should be around 205°F.
Can I halve the recipe?
Yes, and bake in a smaller pot. Reduce the covered bake to 25 minutes and the uncovered bake to about 12, and start checking early.
Why must I wait an hour to cut it?
The crumb is still setting as it cools, and steam is redistributing through the loaf. Cutting hot bread lets that steam escape and leaves the interior gummy.
