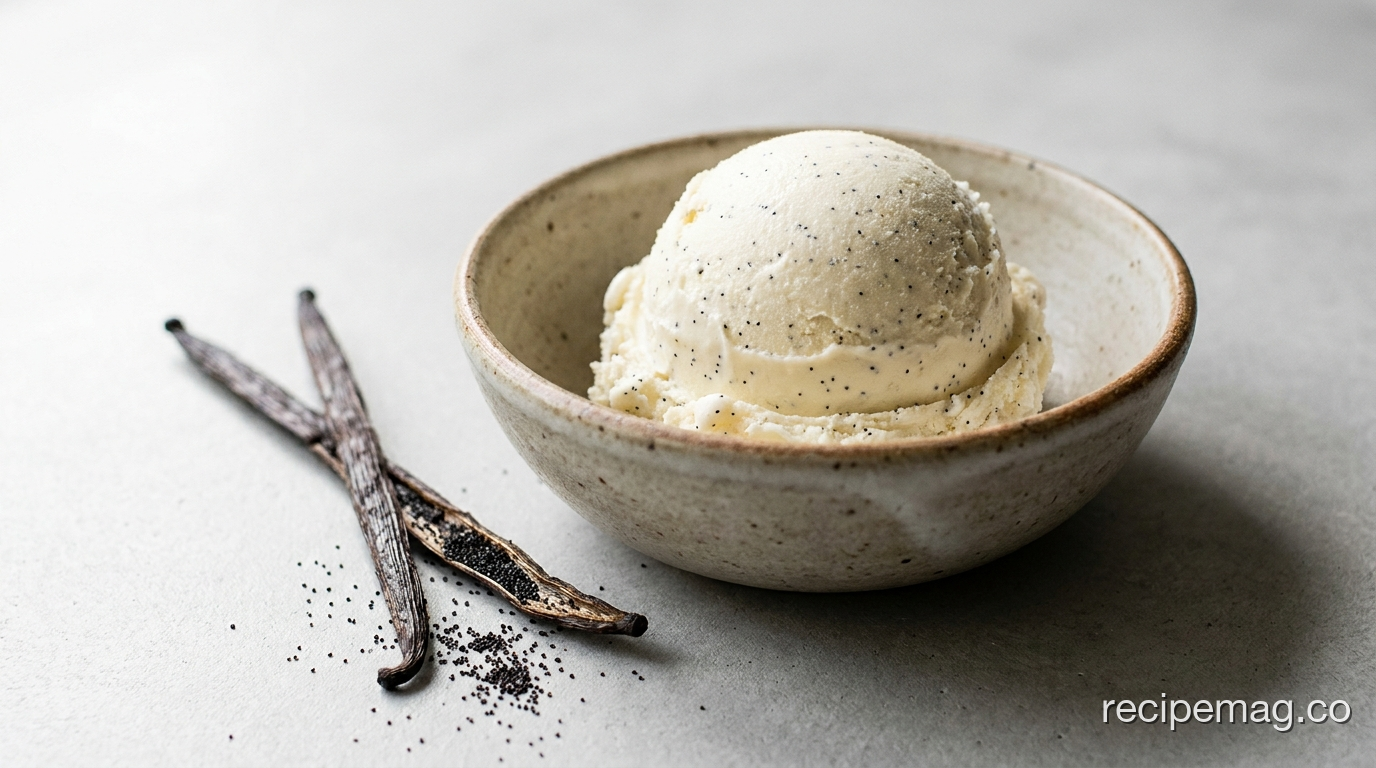
Real vanilla bean ice cream starts with a cooked custard, not just cream and sugar. This vanilla ice cream recipe uses egg yolks, whole milk, heavy cream, and a split vanilla pod to build the deep, mellow flavor that makes homemade so much better than the carton. It takes about 45 minutes of active work, plus chilling and churning. Vanilla is still America’s most popular flavor, accounting for the largest share of retail sales, according to the International Dairy Foods Association (2023). Here’s how to make it right.
Key Takeaways
- A custard (French-style) base gives the richest, smoothest vanilla ice cream.
- Real vanilla beans deliver the flecks and depth that extract alone can’t match.
- Cook the custard to 170-175°F for a safe, silky texture (USDA FSIS, 2023).
- Chill the base thoroughly before churning, ideally overnight, for the best freeze.
- Active time is about 45 minutes; total time is roughly 8 hours with chilling.
Why a Custard Base Makes Better Vanilla Ice Cream
The egg yolks are the secret. A custard base, sometimes called French-style, uses yolks whose lecithin emulsifies the fat and water, producing a smoother, denser scoop with fewer ice crystals (America’s Test Kitchen, 2022). Eggless “Philadelphia-style” ice cream is faster, but it freezes harder and tastes thinner. For a flavor as delicate as vanilla, the extra richness matters.
Yolks do more than texture. They carry fat-soluble vanilla compounds, so the flavor spreads evenly and lingers longer on the palate. They also raise the mix’s freezing point slightly, which keeps the final ice cream scoopable straight from the freezer rather than rock-hard.
The trade-off is care. A custard can curdle if you rush it. But with a thermometer and gentle heat, it’s a forgiving process. Cook it low, stir constantly, and pull it off the heat at the right temperature. That’s the whole game.
Ingredients for Classic Vanilla Bean Ice Cream
Six ingredients carry this entire recipe, so quality shows. Use a real vanilla bean if you can. Whole pods contain the tiny seeds and aromatic compounds that give this dessert its signature speckled look and rounded flavor, something imitation vanilla simply can’t replicate (University of Vermont Extension, 2021). If good pods are out of budget, a high-quality pure vanilla extract is a reasonable substitute.
- 2 cups heavy cream
- 1 cup whole milk
- ¾ cup granulated sugar
- 6 large egg yolks
- 1 vanilla bean, split and scraped (or 1 tablespoon pure vanilla extract)
- Pinch of fine sea salt
A note on the cream-to-milk ratio. Two parts cream to one part milk gives a rich but not heavy result. If you want a lighter ice cream, shift toward more milk; for a denser, gelato-like scoop, use all cream. The recipe below is the balanced middle most people prefer.
How Do You Make the Vanilla Custard Base?
The custard comes together in three moves: infuse, temper, cook. Food safety sets your target temperature here. The USDA recommends cooking egg custards to at least 160°F to eliminate risk, and ice cream bases are typically taken to 170-175°F, the point where they thicken enough to coat a spoon (USDA FSIS, 2023). A thermometer removes all the guesswork.
Step-by-Step Custard Instructions
- Infuse the dairy. Combine the cream, milk, half the sugar, and the split vanilla bean (pod and seeds) in a saucepan. Warm over medium heat until steaming, not boiling. Turn off the heat, cover, and let it infuse for 20 minutes.
- Whisk the yolks. In a bowl, whisk the egg yolks with the remaining sugar and the pinch of salt until pale and slightly thickened, about 1 minute.
- Temper the eggs. Rewarm the dairy briefly. Then, whisking constantly, pour about a cup of the hot dairy into the yolks in a thin stream. This raises their temperature gently so they don’t scramble.
- Cook the custard. Pour the tempered yolks back into the saucepan. Cook over medium-low heat, stirring constantly with a spatula, until it reaches 170-175°F and coats the back of the spoon. This takes 5 to 8 minutes.
- Strain and chill. Pour the custard through a fine-mesh sieve into a clean bowl to catch the pod and any cooked bits. Stir in the vanilla extract if using it instead of a bean. Cover and refrigerate at least 4 hours, ideally overnight.
Straining is not optional. Even a perfect custard has a few firmer bits of cooked yolk, and the sieve catches the spent vanilla pod. Skip this and you risk a grainy texture. The pod, by the way, can be rinsed, dried, and buried in sugar to make vanilla sugar.
How to Churn and Freeze It
A cold base is the difference between creamy and icy. The colder your custard goes into the machine, the faster it freezes, and fast freezing means smaller ice crystals and a smoother scoop (UC Davis, 2022). Aim for a base under 40°F, and pre-freeze your machine’s bowl for at least 24 hours before you start.
Churning Steps
- Pre-freeze the bowl. Most home ice cream makers need the insert frozen solid for 24 hours. Shake it: if you hear liquid sloshing, it’s not ready.
- Churn the cold base. Pour the chilled custard into the running machine. Churn 20 to 25 minutes, until it looks like thick soft-serve and holds a soft peak.
- Transfer and freeze. Scrape the soft ice cream into a chilled loaf pan or container. Press plastic wrap directly onto the surface to prevent ice crystals, then freeze for at least 4 hours to firm up.
- Temper before serving. Let the finished ice cream sit at room temperature for 5 minutes before scooping. This softens it just enough for a clean scoop.
No ice cream maker? You can still do this. Pour the chilled base into a shallow pan, freeze, and stir vigorously with a fork every 30 minutes for about 3 hours. It won’t be quite as smooth as churned, but it’s a genuine homemade ice cream.
Tips for the Smoothest Vanilla Ice Cream
Small details separate good homemade ice cream from great. The most common problems, iciness and hard freezing, both come down to a handful of fixable habits. According to dairy science research, sugar and fat content directly control how firm ice cream freezes, which is why cutting sugar too aggressively backfires (University of Guelph Dairy Science, 2022).
- Don’t reduce the sugar. Sugar isn’t just for sweetness; it lowers the freezing point and keeps the ice cream scoopable. Cut it and you get an icy brick.
- Chill the base overnight. An aged, fully cold base churns faster and tastes fuller. The extra rest also lets the vanilla develop.
- Press plastic wrap on the surface. Air is the enemy of stored ice cream. Direct contact wrap prevents that frosty, crystalline top layer.
- Add a tablespoon of vodka (optional). Alcohol lowers the freezing point slightly, keeping homemade ice cream softer. It cooks off in flavor but improves the scoop.
- Eat it within two weeks. Homemade ice cream has no stabilizers, so it’s best fresh. Texture degrades noticeably after two weeks in a home freezer.
Classic Vanilla Bean Ice Cream
Prep Time: 45 minutes | Chill + Churn: 7 hours | Serves: 8 (about 1 quart)
Ingredients
- 2 cups heavy cream
- 1 cup whole milk
- ¾ cup granulated sugar (divided)
- 6 large egg yolks
- 1 vanilla bean, split and scraped (or 1 tablespoon pure vanilla extract)
- Pinch of fine sea salt
Instructions
- Warm the cream, milk, half the sugar, and the split vanilla bean until steaming. Off heat, cover and infuse 20 minutes.
- Whisk egg yolks with the remaining sugar and salt until pale.
- Temper: whisk about 1 cup of warm dairy into the yolks in a thin stream.
- Return the mixture to the pan. Cook over medium-low, stirring constantly, until it reaches 170-175°F and coats a spoon (5 to 8 minutes).
- Strain through a fine-mesh sieve. Stir in extract if using. Chill at least 4 hours, ideally overnight.
- Churn in an ice cream maker 20 to 25 minutes, until soft-serve consistency.
- Transfer to a container, press plastic wrap on the surface, and freeze 4 hours until firm.
- Let sit 5 minutes at room temperature before scooping.
Notes
- No machine? Freeze the base in a shallow pan and stir with a fork every 30 minutes for 3 hours.
- Save the spent vanilla pod: rinse, dry, and bury in sugar to make vanilla sugar.
- For extra-soft ice cream, stir 1 tablespoon of vodka into the chilled base before churning.
- Best eaten within 2 weeks; homemade ice cream has no stabilizers.
Frequently Asked Questions About Vanilla Bean Ice Cream
Can I make this vanilla ice cream without an ice cream maker?
Yes. Pour the fully chilled custard into a shallow metal pan and freeze it. Every 30 minutes, stir vigorously with a fork to break up ice crystals, repeating for about 3 hours. The texture won’t be quite as smooth as machine-churned ice cream, but it’s a real homemade result. A cold base and frequent stirring are the keys to keeping it creamy.
What’s the difference between vanilla bean and regular vanilla ice cream?
Vanilla bean ice cream is made with the seeds and pod of a real vanilla bean, giving it visible black flecks and a rounder, more complex flavor. Standard vanilla ice cream usually relies on vanilla extract alone. Real beans contain hundreds of aromatic compounds that extract can’t fully replicate (University of Vermont Extension, 2021), which is why the bean version tastes noticeably deeper.
Why did my custard turn out lumpy or scrambled?
The custard got too hot too fast, cooking the eggs into curds. Prevent this by tempering (adding hot dairy to the yolks gradually) and cooking over medium-low heat while stirring constantly. Pull it off the heat at 170-175°F, no higher. If it does curdle slightly, straining through a fine-mesh sieve rescues most batches. An instant-read thermometer is your best insurance.
How long does homemade ice cream last in the freezer?
Homemade vanilla ice cream is best within two weeks. Unlike commercial brands, it contains no stabilizers or emulsifiers to prevent ice crystal growth, so texture degrades over time. Store it in an airtight container with plastic wrap pressed directly onto the surface to slow crystal formation. Keep it in the back of the freezer, where the temperature stays most consistent, rather than in the door.
Can I use this base for other flavors?
Absolutely. This custard is a blank canvas. Steep coffee beans, mint, or citrus zest into the dairy during the infusion step. Fold in chocolate chips, crushed cookies, or fruit swirls during the last minute of churning. For chocolate ice cream, whisk cocoa powder into the warm dairy. The vanilla base is the foundation for nearly any flavor you want to build.
Make It Once and You’ll Skip the Carton
Homemade vanilla bean ice cream asks for a little patience, but the payoff is real. The custard base is richer, the vanilla is deeper, and you control every ingredient. Once you taste the difference, the store-bought tub starts to feel like a compromise.
Start with the classic version below, then use it as a springboard. Steep in coffee, swirl in caramel, fold in cookie chunks. The technique stays the same; only the additions change. That’s the quiet advantage of making it yourself.
Make a batch this weekend. Serve it plain in a bowl, or scoop it between two cookies. Either way, you’ll understand why real vanilla is still the flavor everyone comes back to.
