A meat thermometer is the single most reliable tool for cooking meat correctly, because color and time both lie. The USDA reports that 1 in 4 hamburgers turns brown before reaching a safe internal temperature, which means visual cues can fail you completely (USDA FSIS, 2023). This guide covers which thermometer to buy, where to insert it, and the exact temperatures for safety and doneness.
Key Takeaways
- An instant-read digital thermometer is the most accurate everyday tool, reading temperature in 2-3 seconds.
- The USDA FSIS safe minimum is 165°F for all poultry, 160°F for ground meats, and 145°F (plus a 3-minute rest) for whole cuts of beef, pork, and lamb.
- Insert the probe into the thickest part, away from bone, fat, and gristle.
- Carryover cooking raises internal temperature 5-10°F after you pull the meat, so remove it early.
- Calibrate in ice water (32°F) and boiling water (212°F at sea level) to confirm accuracy.
Why Do You Need a Meat Thermometer at All?
You need a meat thermometer because the two cues most cooks rely on, color and time, are both unreliable. The USDA found that about 1 in 4 ground-beef patties browns fully before reaching the safe 160°F mark, while others remain pink long after (USDA FSIS, 2023). Guessing risks foodborne illness on one end and dry, overcooked meat on the other.
Cooking time is just as shaky. Oven calibration drifts, cuts vary in thickness, and a chicken straight from the fridge cooks slower than one rested on the counter. A recipe that says “roast 45 minutes” assumes conditions you rarely match exactly. Temperature, by contrast, is an absolute. Meat is done when its internal temperature says so, not when a timer beeps.
The stakes are real. The CDC estimates that Salmonella and Campylobacter, both common in undercooked poultry, cause roughly 2.6 million U.S. illnesses every year (CDC, 2023). A $20 thermometer eliminates almost all of that risk in your kitchen, and it saves a $25 roast from being ruined too.
What Are the USDA FSIS Safe Minimum Internal Temperatures?
The USDA FSIS publishes safe minimum internal temperatures that reliably kill harmful bacteria. The headline numbers: 165°F for all poultry, 160°F for ground meats, and 145°F with a 3-minute rest for whole cuts of beef, pork, veal, and lamb (USDA FSIS, 2023). These are safety floors, not doneness preferences. Hit them and the food is safe to eat.
| Food | Safe Minimum Internal Temp | Rest Time |
|---|---|---|
| Poultry (whole, parts, ground) | 165°F (74°C) | None required |
| Ground beef, pork, lamb, veal | 160°F (71°C) | None required |
| Beef, pork, veal, lamb (steaks, chops, roasts) | 145°F (63°C) | 3 minutes |
| Fish and shellfish | 145°F (63°C) | None required |
| Ham (fresh or smoked, uncooked) | 145°F (63°C) | 3 minutes |
| Egg dishes | 160°F (71°C) | None required |
| Leftovers and casseroles | 165°F (74°C) | None required |
That 3-minute rest for whole cuts matters more than people think. During the rest, the temperature holds or rises slightly and bacteria continue to die off. The USDA lowered the whole-cut pork standard from 160°F to 145°F in 2011, finally allowing pork chops to be cooked to a juicy, faintly pink medium rather than the dry gray of past decades (USDA FSIS, 2011).
What Is the Doneness Temperature Chart for Steak and Beef?
Doneness is a flavor and texture choice that lives above the safety floor. For whole cuts of beef, the USDA’s 145°F minimum lands at medium, but most steak lovers pull earlier. The reference below shows the pull temperatures chefs actually use, accounting for carryover cooking that adds several degrees after the steak leaves the heat (ThermoWorks, 2023).
| Doneness | Pull Temp (remove from heat) | Final Temp (after rest) |
|---|---|---|
| Rare | 120°F (49°C) | 125°F (52°C) |
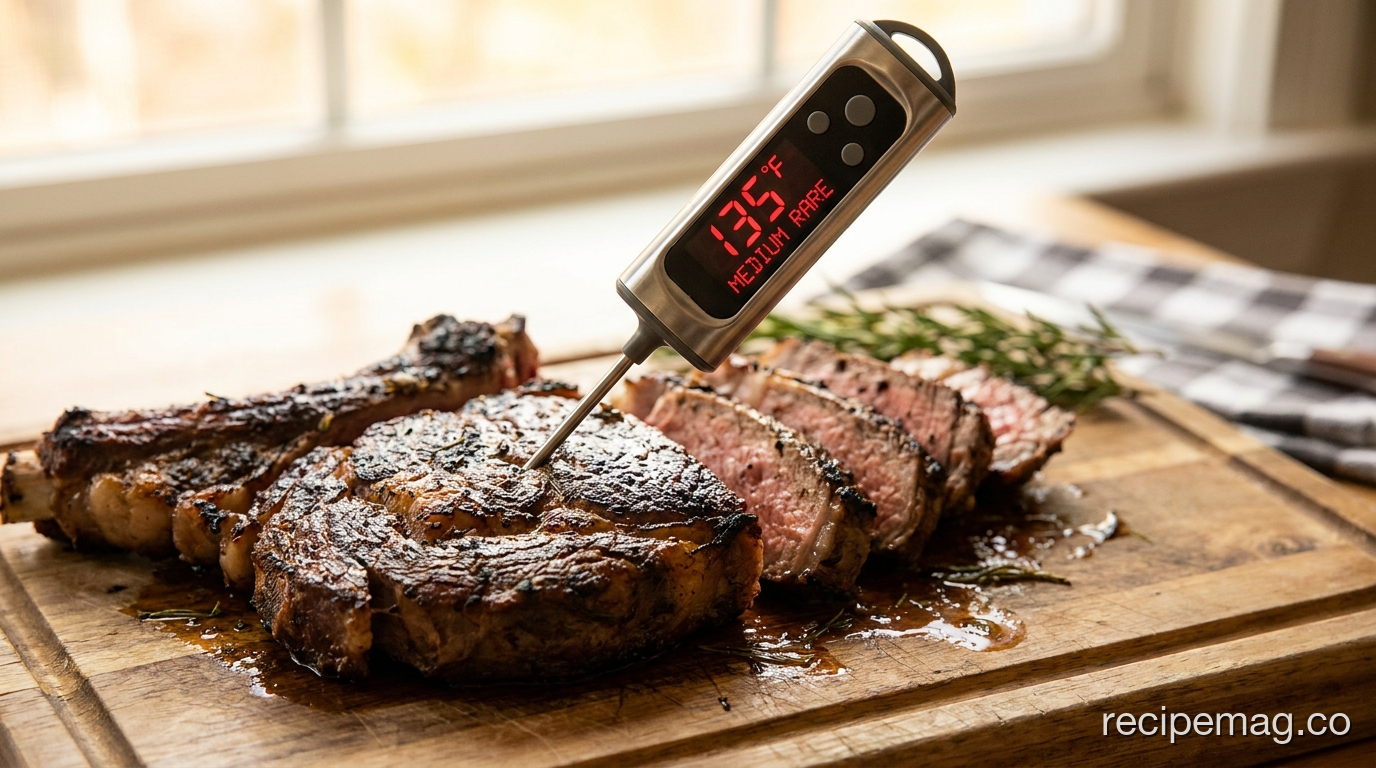
| Medium-rare | 130°F (54°C) | 135°F (57°C) |
| Medium | 140°F (60°C) | 145°F (63°C) |
| Medium-well | 150°F (66°C) | 155°F (68°C) |
| Well-done | 160°F (71°C) | 165°F (74°C) |
Note that these doneness temperatures fall below the 145°F safety minimum for rare and medium-rare. That’s the long-standing trade-off for whole-muscle beef: bacteria live on the surface, which a hot sear sterilizes, so the rare interior carries little risk. Ground beef is different, because grinding spreads surface bacteria throughout. Always cook ground beef to 160°F regardless of how you like the texture.
[UNIQUE INSIGHT] The biggest doneness mistake we see isn’t reading the wrong number, it’s reading at the wrong moment. A 1.5-inch steak can climb 8-10°F during its rest, so pulling at 135°F when you want medium-rare overshoots into medium every time. Trust the carryover. Pull early, then let physics finish the job while you set the table.
Which Type of Meat Thermometer Should You Buy?
An instant-read digital thermometer is the best all-purpose choice, reading in 2-3 seconds with accuracy within 1°F. America’s Test Kitchen and ThermoWorks consistently rank these over dial models, which lag 15-20 seconds and drift out of calibration easily (ThermoWorks, 2023). Speed matters: the longer the probe sits, the more heat escapes through the open oven or grill.
Instant-read digital
The everyday workhorse. You insert it, read the number, and pull it out. Best for steaks, chops, chicken pieces, and burgers. Look for a thin probe tip, which reads faster and leaves a smaller hole. Budget models work fine; premium ones like the Thermapen just read faster and survive more abuse.
Leave-in probe (oven or grill)
This probe stays in the meat while it cooks, with a cable running to a base unit or a wireless transmitter. Set a target temp and an alarm tells you when it’s reached. Ideal for roasts, whole birds, and low-and-slow barbecue, where opening the oven repeatedly wastes heat and time.
Dial (bimetal) thermometers
The old analog spring-dial type. They’re cheap and need no batteries, but they’re slow, less accurate, and must be calibrated often. The sensing area sits about an inch up the stem, so they struggle with thin cuts. Use them only as a backup.
[PERSONAL EXPERIENCE] We’ve found that owning two thermometers, one fast instant-read and one leave-in probe, covers essentially every cooking situation. The instant-read handles the weeknight chicken thighs in seconds, while the leave-in probe babysits the Sunday roast so we never open the oven door until the alarm sounds.
How Do You Use a Meat Thermometer Correctly?
Placement is everything. The USDA advises inserting the probe into the thickest part of the meat, away from bone, fat, and gristle, because bone conducts heat and reads hotter than the meat around it (USDA FSIS, 2023). A probe touching the thigh bone of a chicken can show 175°F while the meat beside it sits at a still-raw 150°F.
Where to insert the probe
For a whole chicken or turkey, aim for the deepest part of the breast and the inner thigh, not touching bone. For steaks, chops, and burgers, slide the probe in from the side toward the center so the tip reaches the middle. For thin cuts, an angled side insertion is the only way to reach the true center.
Check more than one spot
Take readings in two or three places, especially on irregular cuts and whole birds. The lowest reading is the one that counts for safety. One cool spot means the whole piece needs more time, even if everywhere else looks done.
Calibrate to stay accurate
Test your thermometer in an ice-water bath, which should read 32°F (0°C), and in boiling water, which reads 212°F (100°C) at sea level. ThermoWorks notes that boiling point drops about 1°F per 500 feet of elevation, so adjust if you live in the mountains (ThermoWorks, 2023). Many digital models have a reset button; recalibrate any time a reading looks off.
Frequently Asked Questions About Meat Thermometers
Where do you put a meat thermometer in a whole chicken?
Insert the probe into the thickest part of the breast and, separately, the inner thigh, keeping the tip away from bone. The thigh is the slowest part to cook, so it’s the true safety checkpoint. Both spots should read at least 165°F per USDA FSIS guidelines. If the thigh lags behind, keep cooking and check again in a few minutes.
Can you leave a meat thermometer in the oven while cooking?
Only leave-in (oven-safe probe) thermometers are designed to stay in during cooking; instant-read models are not. A leave-in probe with a heat-resistant cable lets you monitor a roast without opening the door, which preserves oven heat and shortens cook time. Never put an instant-read thermometer in a hot oven, as the housing and display can be damaged.
Why is my meat thermometer reading wrong?
The most common causes are bad placement and lost calibration. A probe touching bone, fat, or the pan reads inaccurately, often high. Drift also happens over time, especially with dial thermometers. Test yours in ice water; it should read 32°F. If it’s off, recalibrate using the reset function or adjust your readings by the measured difference.
Is 145°F really safe for pork?
Yes. The USDA lowered the safe minimum for whole cuts of pork to 145°F with a 3-minute rest in 2011, matching beef and lamb. At that temperature pork may look faintly pink and stay juicy, which is normal and safe. Ground pork is the exception and must reach 160°F, since grinding distributes any surface bacteria throughout the meat.
Do I need a thermometer if I cook by feel?
The hand-touch and finger tests give a rough estimate at best, and they fail completely for whole roasts and poultry where safety is non-negotiable. Even experienced cooks misjudge by 10-15°F, which is the difference between medium-rare and overcooked. A thermometer removes the guesswork for a few dollars, making it the cheapest insurance in your kitchen.
Start Cooking by Temperature, Not by Timer
A meat thermometer turns cooking meat from a gamble into a measurement. Once you cook to a number instead of a clock, overcooked chicken and underdone pork simply stop happening. The two charts above, USDA safe minimums and the steak doneness guide, cover almost everything you’ll grill, roast, or sear this year.
Keep the workflow simple. Pick the thickest part, avoid the bone, pull the meat a few degrees early to allow for carryover, and rest it before slicing. Calibrate in ice water every so often so you can trust the readings. These habits take seconds and pay off on every single cut.
The next time a recipe gives you a cook time, treat it as a rough guide and let your thermometer have the final word. Your dinner will be safer, juicier, and far more consistent, meal after meal.
